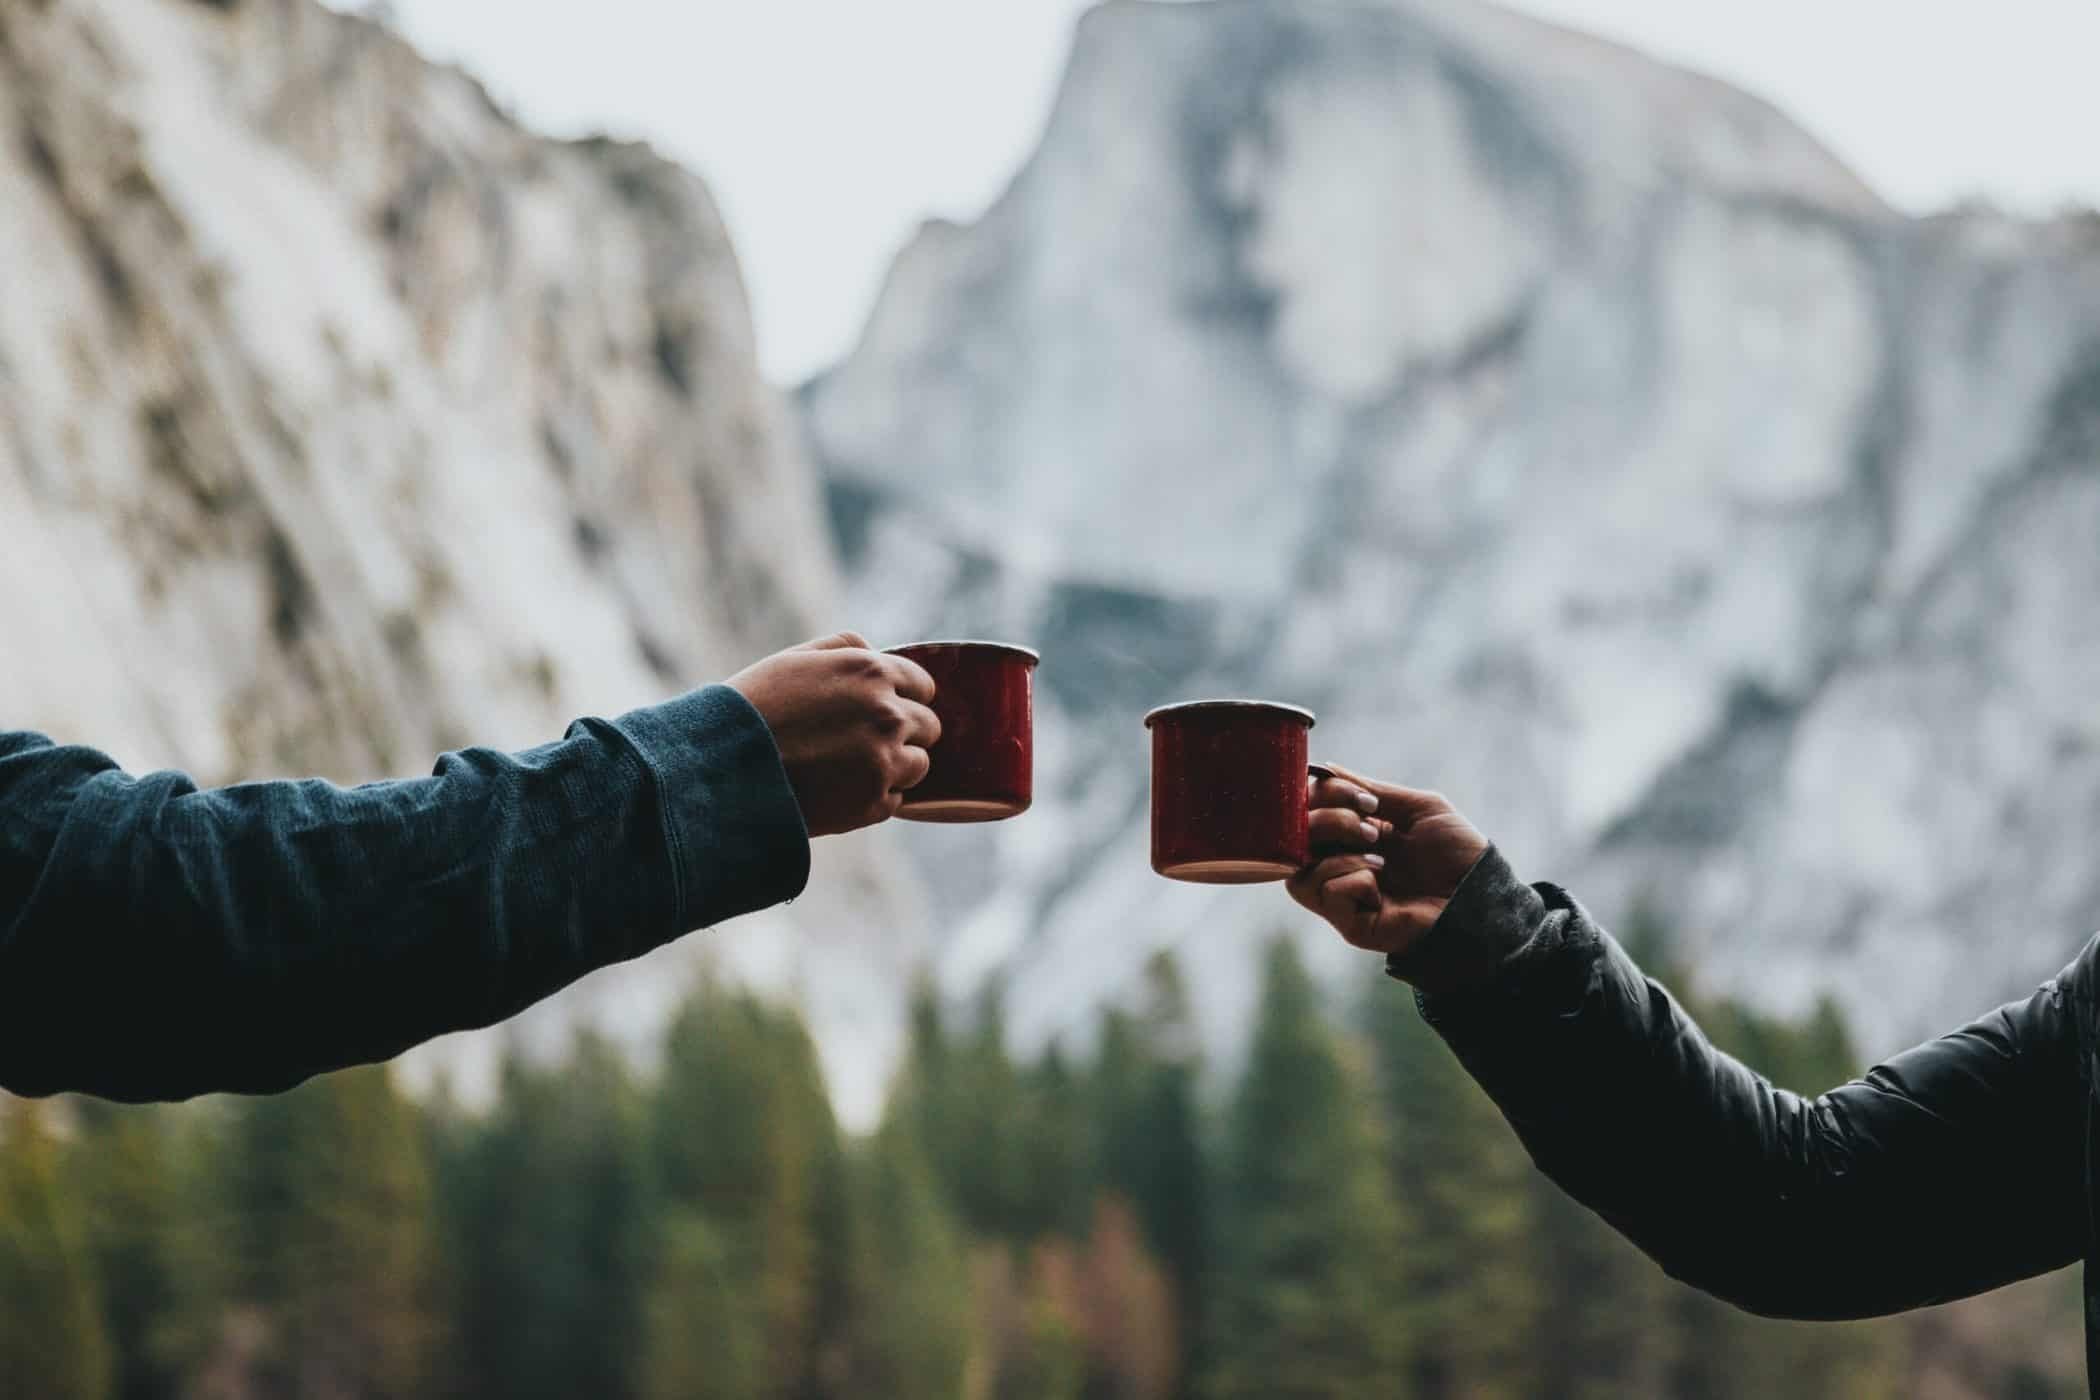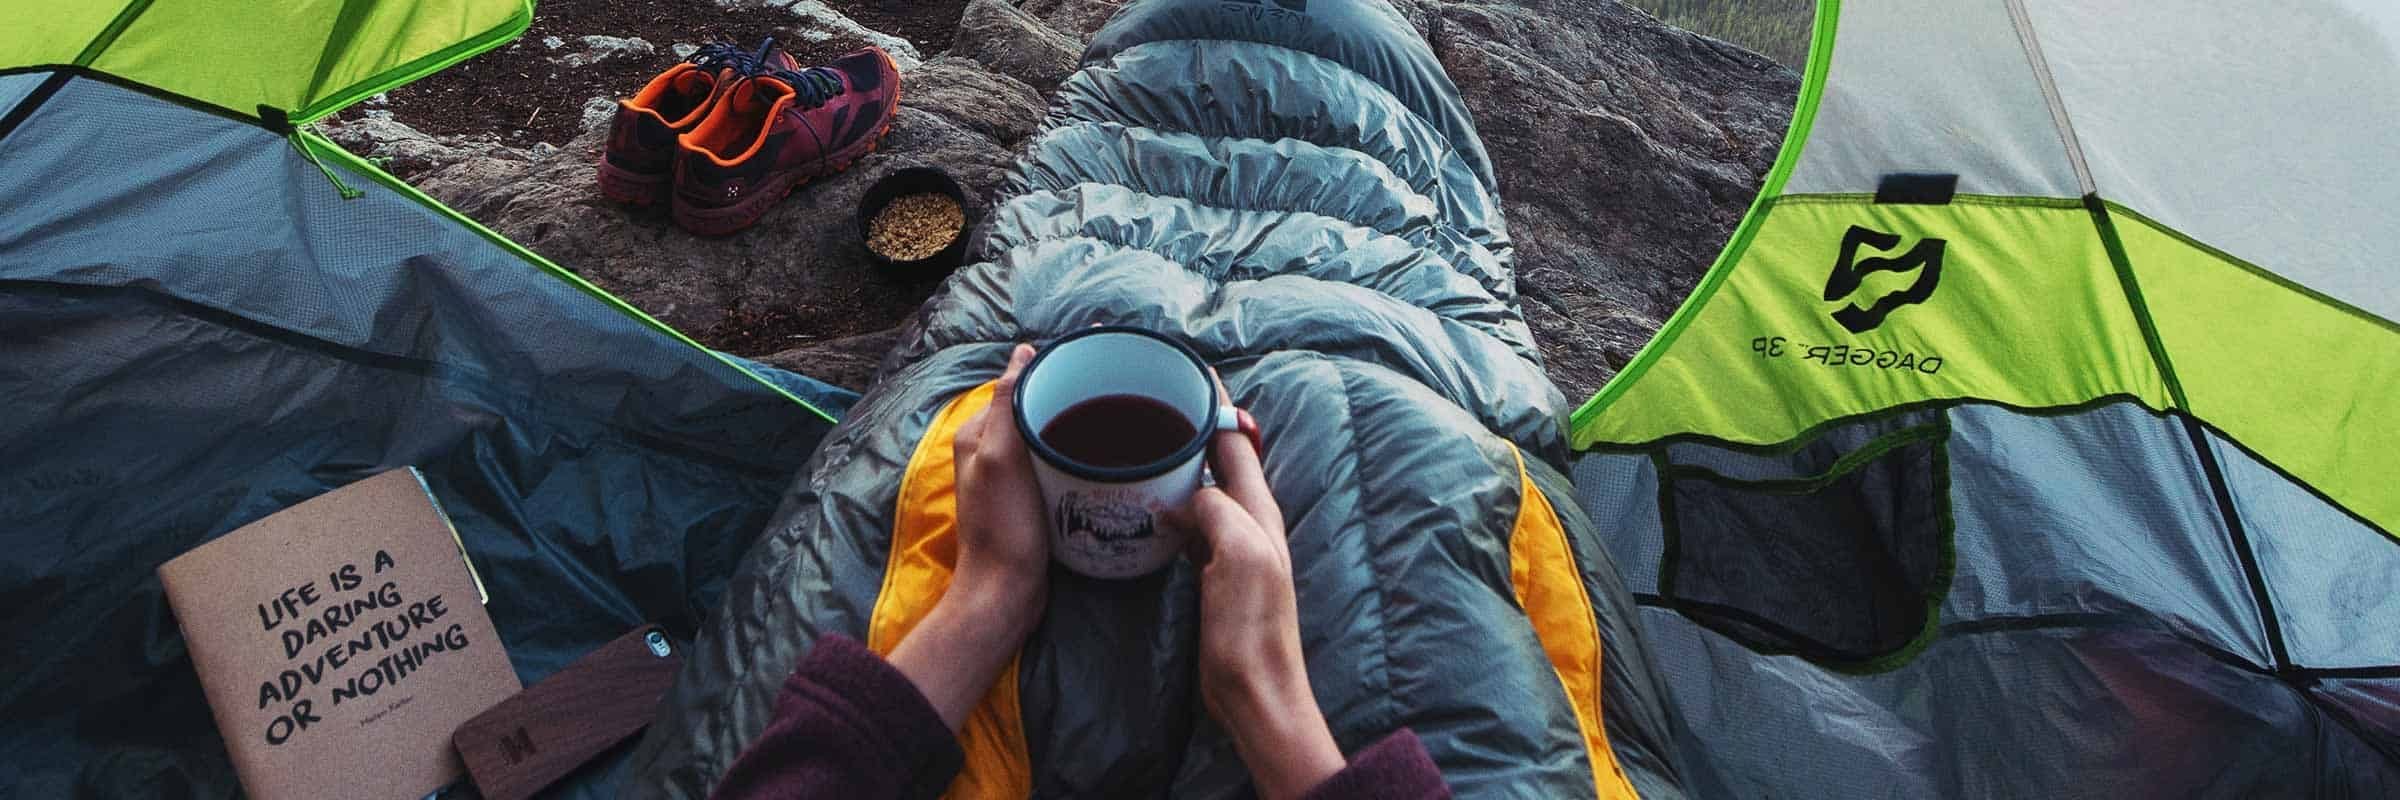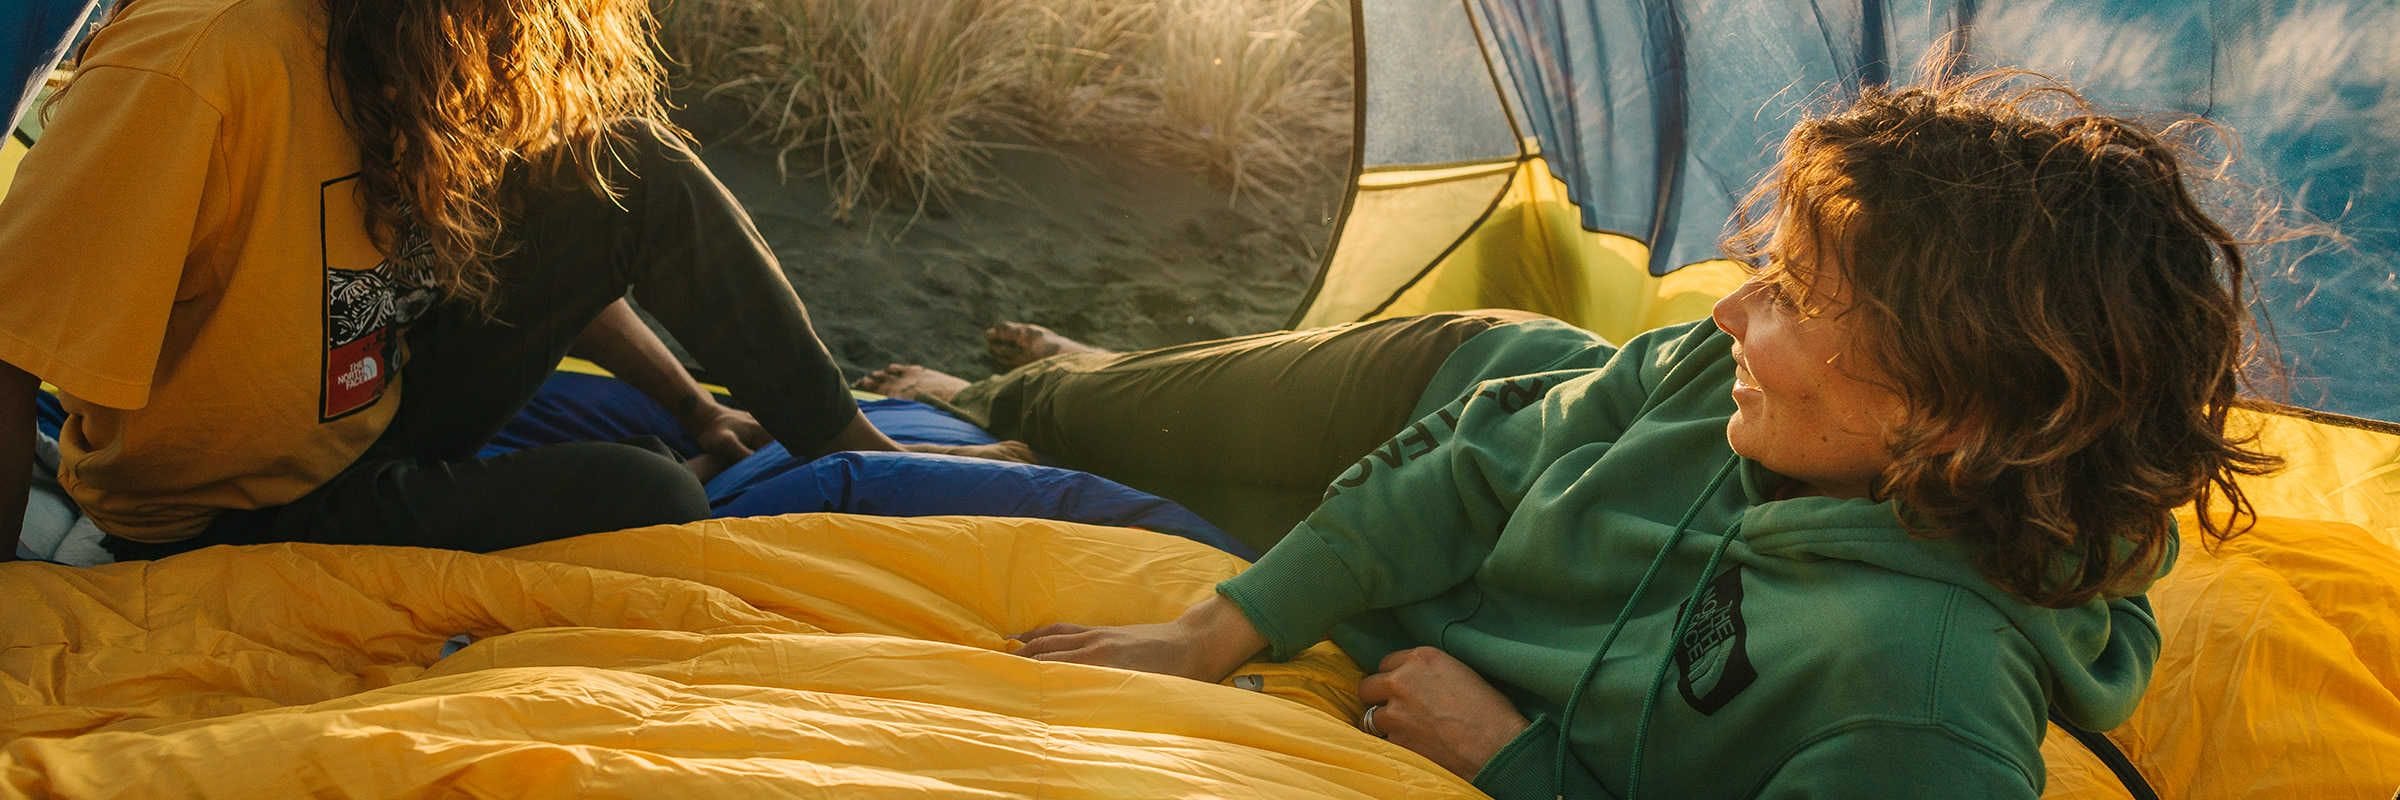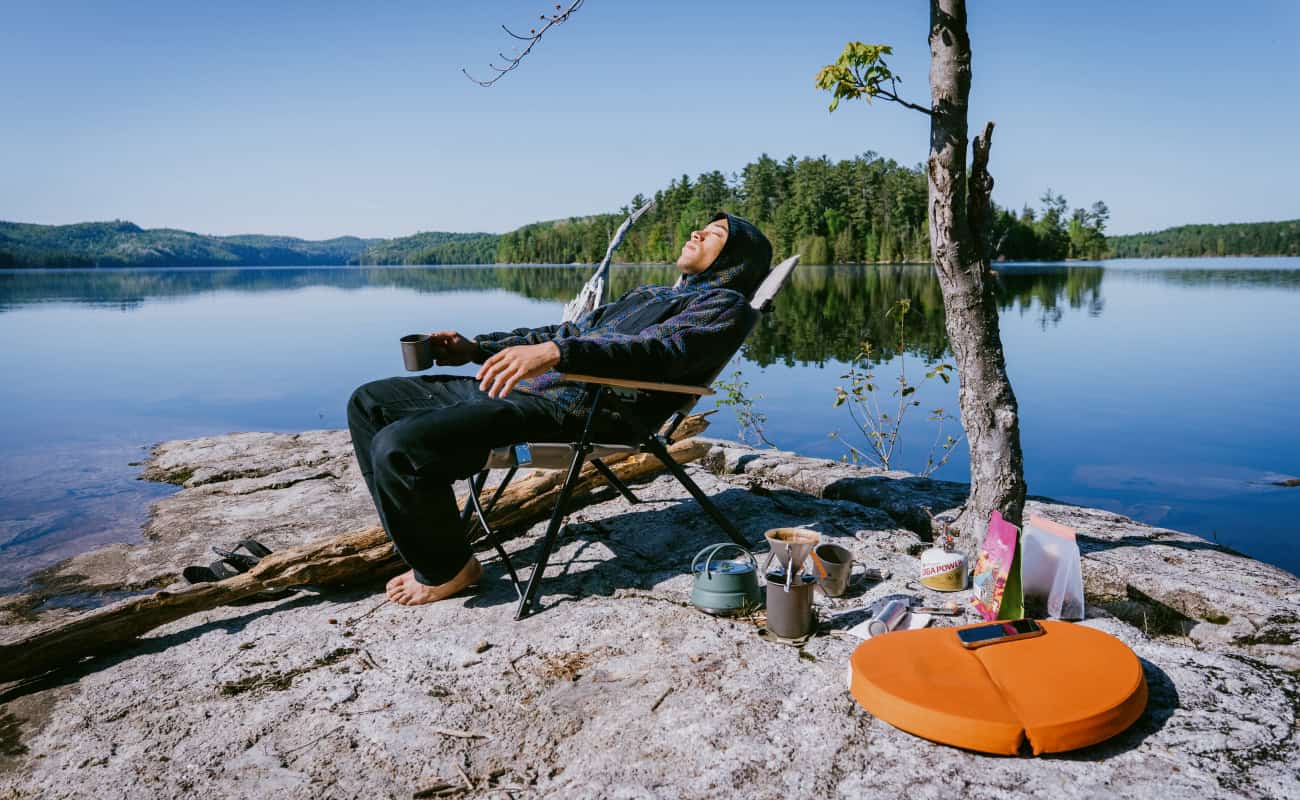


The experience of drinking coffee is second only to the experience of making coffee. But, when it comes to doing either in the backcountry, most people simply shrug and settle for tea—don’t be one of these people.
So, what is camping coffee? Today, there are many backcountry brew methods to choose from; some old, some new. Below, we discuss the 9 most common brewing styles and the tools you’ll need to pull it off. By the end of this article, you’ll be a veritable backwoods barista. Not something you can put on your CV, but hey—life goals, right?
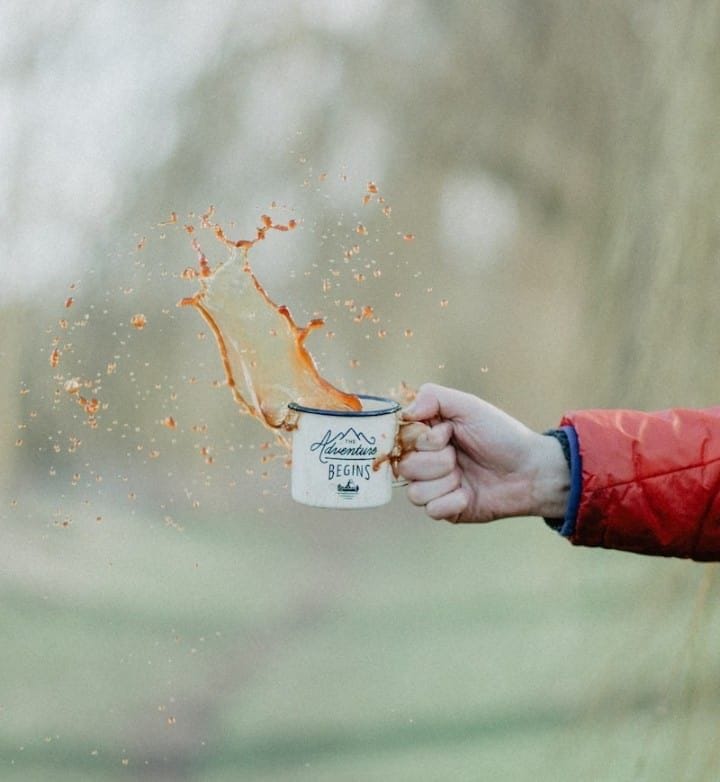
Here’s a quick camping coffee making guide 101:
THINGS YOU NEED TO GET STARTED
I know you’re excited to get your caffeine on, but let’s discuss a few fundamental accessories you’ll need to successfully enjoy camping coffee.

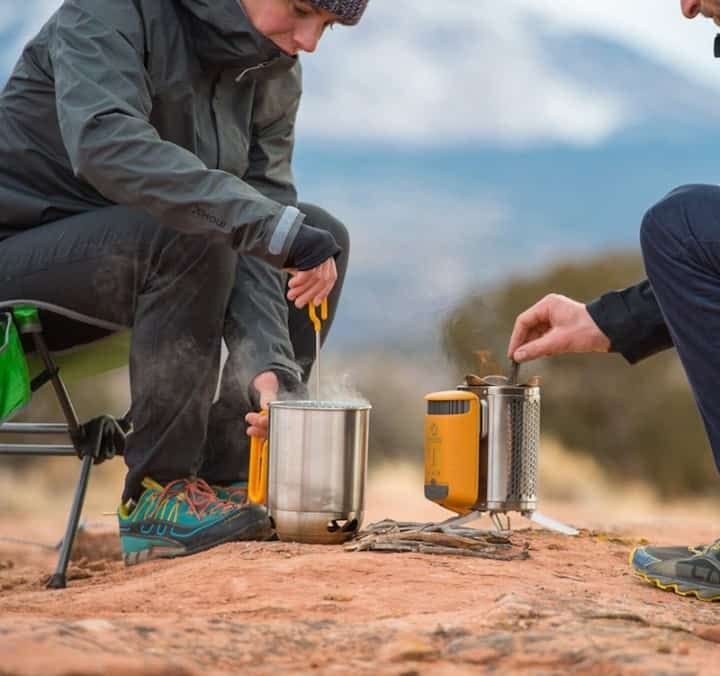
1. Camp Stove
To avoid simply mixing ground coffee with cold water and hoping for the best, you’re going to need a camp stove. A camp stove can be anything from a minimalist Jetboil System to an old tin pot set over an open flame.
In need of a camp stove? Check out all of 2021’s best camping stoves.

2. Mug
Even rough-and-tumble cowboys carried a mug. If that doesn’t make you think twice about drinking straight from your stove pot, consider this: Using a mug means you won’t have to wait for your pot to cool down before sipping your brew. Also, if you’re making coffee for multiple people, having a cup is both more practical and more sanitary.
To get you started, take a look at 2021’s best camping coffee mugs.

3. Grinder
While it’s true that you can take pre-ground coffee into the woods, why would you want to? Indeed, ground coffee loses its freshness after just a week. This is because more surface area is exposed to the air.
To combat this atrocity, take along a high-quality backcountry hand grinder.
CAMPING COFFEE BREW METHODS
Let’s take a look at the most common and effective camping coffee methods. Remember, if you love the taste but hate the shakes, you can always switch out your normal beans for some decaf coffee.
And while each of these methods require patience to master, it’s satisfying to know you have complete control over the process when compared to drip coffee machines.
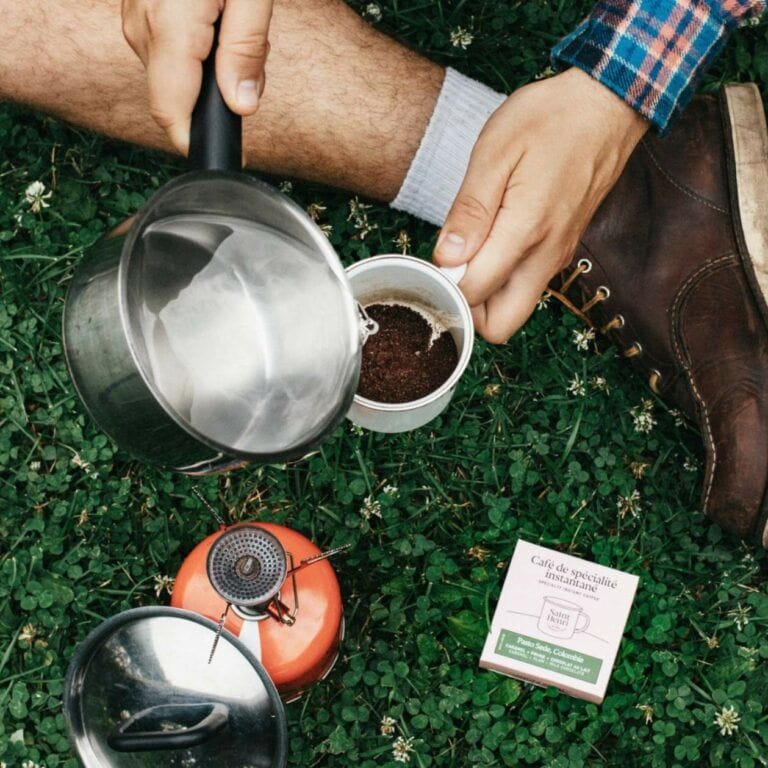
1. Instant Coffee
We’d be remiss to not mention it—even if we do so begrudgingly. But yes, instant coffee is hands-down the easiest, cheapest, and fastest method to enjoy (read: consume) coffee in the backcountry. All you need is a ziplock bag and a couple handfuls of instant coffee.
Use case: Unless your goal is to simply crush miles, we can’t recommend this method without a guilty conscience. The one time when instant coffee is somewhat excusable is as your stimulant of choice to break the Appalachian Trail FKT. This is hiking coffee—not camping coffee.
Prep: Boil 200ml – 300ml of water and chuck in your grounds. They call it instant for a reason. Alternatively, you can tie a teabag around some grounds to create a coffee infuser.
Recommended Gear: There is always a silver lining here. As it turns out, some notable roasters are working hard to elevate instant coffee. We recommend Cafe Saint-Henri’s Specialty Instant Coffee.

2. Cowboy Coffee
Working our way up—incrementally, it would seem—from instant coffee is cowboy coffee. Cowboy coffee is less a brewing technique and more a philosophy. And that philosophy is utilitarianism. Though cowboy coffee has a nice ring to it, I propose the more apt cowboy energy sludge.
Use case: Wild West reenactments and rodeos.
Prep: Place a handful of cheap coffee grounds into a pot of water. Don’t worry about measuring out your water (this is energy sludge, remember?). Place it on a flame. As it begins to boil, you’ll notice the coffee grounds start to rise and boil over the rim of the pot. But who cares, right?
Once your patience has reached its limit, remove the pot from the flame. Now, add a random splatter of cold water. This will help the coffee grounds settle at the bottom.
Recommended gear: A dirty old pot and a dollop of subpar supermarket coffee.
3. Pour Over Coffee
The pour over system was invented in 1908 by German entrepreneur Melitta Bentz. By perfecting the paper filter, she successfully developed the first brew method that prevented coffee grounds from accumulating in your cup.
Use case: Pour over coffee is a time-tested and respectable brew method. It’s neither technical nor time-consuming, yet produces consistent and delicious filter coffee. This makes it a great choice for everyone, from novice camping caffeine-addicts to seasoned backcountry baristas.
Prep: Boil some water. Secure your pour over filter to the rim of your cup. Add filter paper if necessary. Add coffee grounds. Pour boiling water steadily over the grounds, beginning in the middle and working in small outward circles. Let drain into cup. Repeat as desired.
Recommended gear: You can get yourself a complete pour over kit or simply buy a pour over device with a reusable filter. There are also collapsible options on the market.
4. French Press
Otherwise known as a cafetière, the French press is a brewing method that uses a plunger attached to a fine wire or mesh filter. Though it stacks tall, any camping French Press worth its beans is both collapsible and lightweight for easy storage.
Use case: A portable French Press is one of the most practical and affordable devices when it comes to barista-grade backcountry coffee. It’s simple, lightweight, and packs small. Best of all, a good French press prevents coffee grounds from infiltrating your cup.
Prep: Boil water. Place some finely ground coffee inside your camp stove or French press. Pour the water directly onto the grounds. Gently stir the slurry to remove any air and evenly moisten the grounds. Let stand for 3-4 minutes before plunging. Instead of plunging all the way, leave a few millimeters not to agitate the grounds. Serve.
Recommended gear: There are two options for making French press camping coffee: Either buy a complete system or purchase a camp stove add-on. The latter is more practical and affordable. We recommend the BioLite KettlePot Coffee Press for those who own the KettlePot. Alternatively, most JetBoil systems are compatible with the JetBoil coffee press.
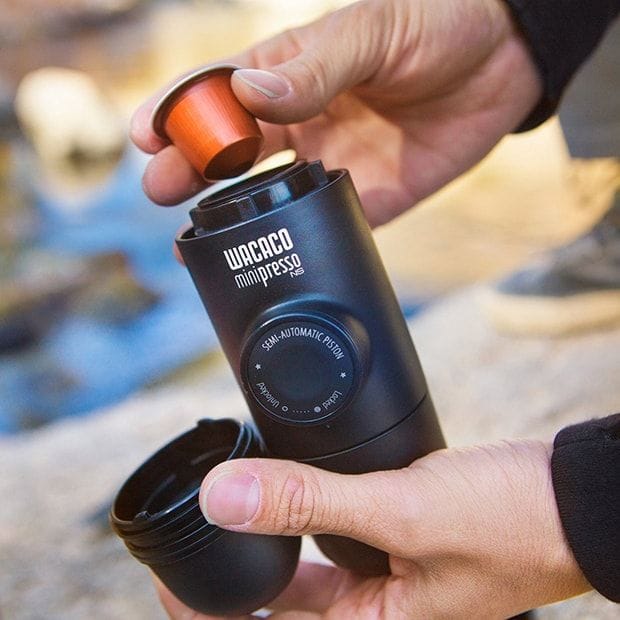
5. Portable Espresso Maker
Pat yourself on the back—we’ve made it to an age where portable espresso technology has been perfected. So if espresso is your drug of choice, one of these gadgets is the way to go.
Use case: From the office to the backcountry, portable espresso makers are very compact and highly versatile devices. Sure, espressos snobs will notice a lower quality experience when compared to a traditional espresso machine, but it’s a worthwhile sacrifice for on-the-go convenience.
Prep: These general steps reflect most portable espresso makers on the market: Place 50ml of boiling water in the water tank. Add about 6g – 8g of fine to medium ground coffee to the filter basket. Use the plunger to increase internal pressure and pump out espresso.
Recommended gear: Though many brands are starting to produce their own portable espresso maker, nothing beats the Wacaco Minipresso GR. Can be adapted for espresso capsules, as well.

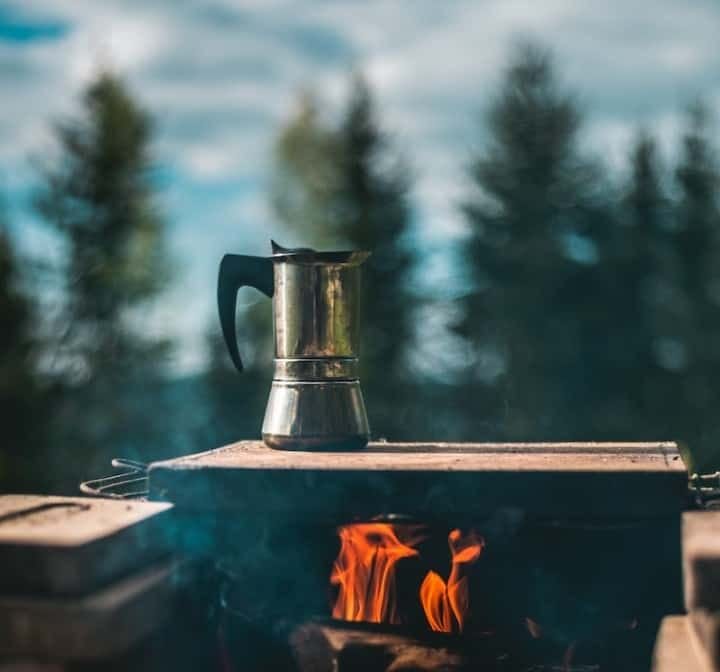
6. Moka Pot
Moka pots are perhaps the most iconic Italian coffee making device. They come in both stove-top and electric versions; however, since we’re camping, we focus on the former.
Use case: Perfect for car camping and glamping, moka pots are known for making excellent camp coffee. They’re also very stylish.
Prep: Fill the basket with finely ground coffee. Add some pre-boiled water (70°C is ideal) to the bottom chamber and secure the collecting chamber in place. Now, place the moka pot atop your camp stove or over an open flame. The steam in the bottom chamber will generate enough pressure to push water up through the basket and into the collecting chamber.
Let the process continue until you hear a hiss. Remove the moka pot from the flame, allowing it to gradually stop. If you’re near a stream, you can submerge the bottom chamber to help cool it. Serve.
Recommended gear: The classic choice here is the Bialetti Moka Express.
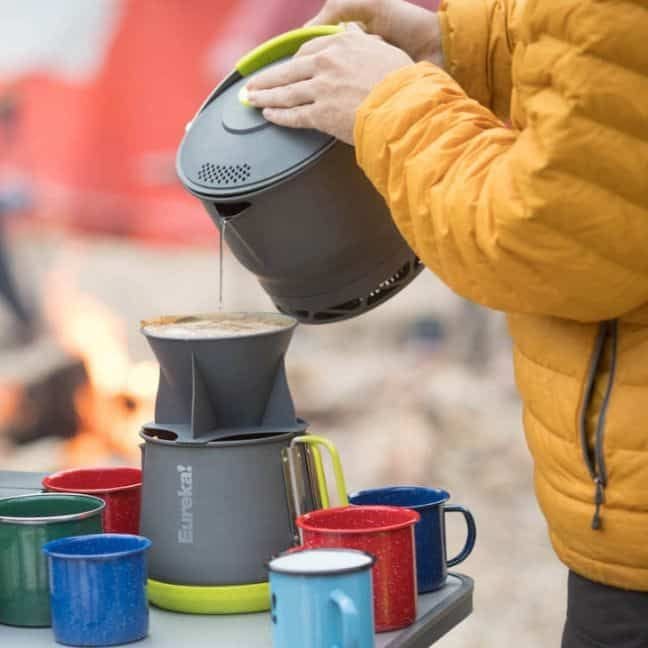
7. Percolator
Percolators have been widely used to make coffee since the late-nineteenth century. The system is designed to continually cycle boiling water through a basket of ground coffee. Once the perfect colour—denoting its strength—has been reached, it’s ready to serve.
Use case: Percolators are bulky. For that reason, they’re more suited to camping than to hiking. They can also be slow, which is actually quite nice if you enjoy taking time to brew your morning cup of joe.
Prep: Fill the percolator with water. Measure out 1 TBSP (~5g) of coffee per cup of water and add it to the filter basket. Pat it down, place the strainer on top, and seal the percolator. Now, set the percolator over an open flame or atop a camp stove.
The water will boil up through the stem and overflow through the strainer and onto the grounds. This will extract the coffee. Let this continue for 5 – 8 minutes or until you’re satisfied with the colour. To serve, pour gently while making sure that the coffee grounds remain at the bottom of the percolator.
Recommended gear: Stainless steel sets the bar high when it comes to hygiene and durability. For large groups, we recommend GSI Outdoors’ Glacier Coffee Percolator. Though few hikers would dream of taking this brewer on their adventure, campers will love it. Serves 14 cups.
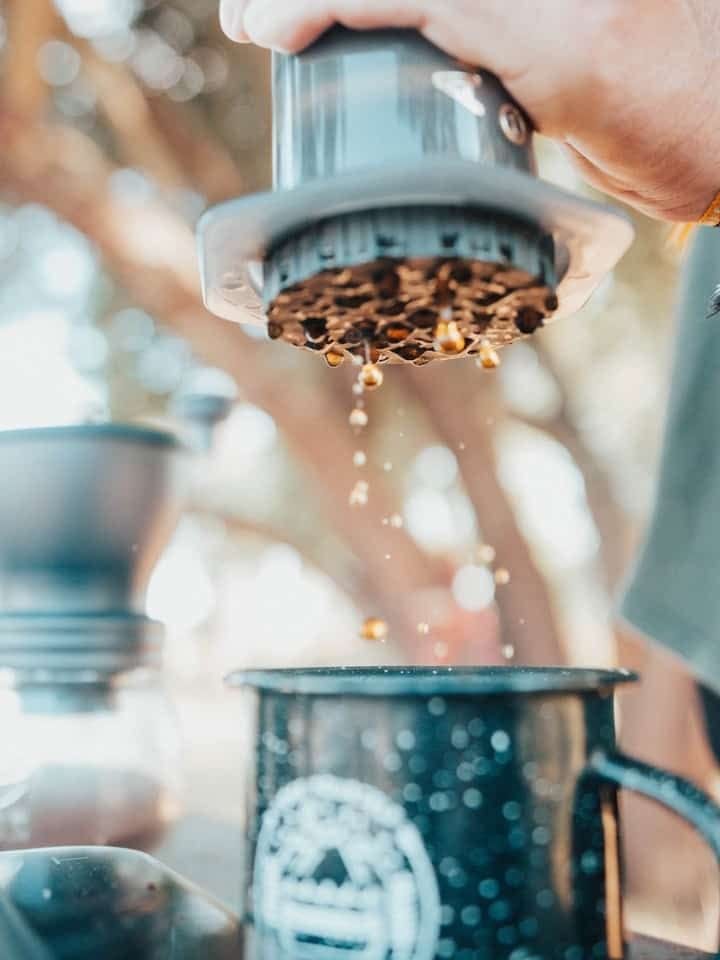
8. Aeropress Coffee
Durable, lightweight, and compact, the Aeropress brewer is a favourite among serious caffeine campers.
Use case: The Aeropress is highly versatile and consistent. Just as many people use it in the backcountry as on business trips.
Prep: As usual, start by boiling some water. The Aeropress takes 8 oz of water—or just short of 250ml—when filled. Add some finely ground coffee into the brew chamber. The scoop holds roughly 15g of coffee, which is the perfect ratio for 8 oz of water.
Now, add the boiling water to the brew chamber. Let sit for 30 seconds, then stir. Place a dampened filter inside the basket and twist the basket into place on the brew chamber. Flip the Aeropress upside down, place it on top of your cup, and slowly press the plunger. Voilà—perfect travel coffee.
Recommended gear: The Aeropress comes with a plunger, brew chamber, basket, funnel, stirring stick, and coffee scoop. Of course, if you’re running a tight ship, all you need is the plunger, brew chambers, and basket to enjoy some dope camp coffee. Just don’t forget the filter papers!
9. Bripe Coffee
What began as a meme product quickly caught on as a quirky and ingenious way to enjoy a cup—or rather, a shot—of joe. Meet the Bripe, short for coffee brew pipe. Because it’s simply too bizarre for words, check out James Hoffman’s stellar review of the odd—yet surprisingly convenient—device.
Use case: While not our first choice for the best camping coffee method, it certainly makes an excellent travel companion for all your other adventures. It’s also a great conversation-starter.
Prep: Before briping, you’ll need some boiled water. Then, follow the instructions laid out in your kit.
Recommended gear: You can purchase your own Bripe kit from their official website.
FAQs for camping coffee
Q: What to do with coffee grounds when backpacking?
A: Whenever you find yourself in the backcountry, it’s important to tread lightly and respect Leave No Trace protocols. Whether it’s coffee grounds or anything else you pack into the bush, ask yourself this question: How would this area look if I had never been here? Bottom line: Don’t scatter or bury or burn your coffee grounds—simply pack ‘em out!
Q: Do coffee grounds attract bears?
A: Coffee grounds themselves aren’t particularly attractive to bears. But it’s important to note that any strong, pungent odour is liable to pique their interest—especially if they’ve previously learned to associate the scent of coffee with other food odours. Nevertheless, in the scope of things, coffee grounds are one of the least likely smells to rouse their interest.
Q: How do you make a camping latte?
A: A latte consists of a single or double shot of espresso, steamed milk, and a thin layer of foam. Though less convenient than straight black coffee, you can nevertheless make this in glorious backcountry fashion by following these simple steps.
Start by brewing some espresso-grade coffee using your preferred brewing method. Once that’s out of the way, it’s on to the milk. Car campers will find this part easy; just bring along a stovetop cappuccino steamer, place it over the fire, and presto—steamed milk.
Though real, whole milk is preferred, it’s not always possible to lug a cooler into the woods. Instead, powdered milk or dehydrated non-dairy creamer make lightweight alternatives. To liquify them, simply boil water and mix together.
A cheap and ultralight alternative to a steamer is a battery-operated frother. Just heat the milk in a camping stove, then froth until creamy. Now, add it to your espresso, mix, and enjoy. As a final option, you can delicately coat the top with a thin, finishing layer of foam for barista-level perfection.
Q: Do I need to filter my water before making camping coffee?
A: Because boiling water is a prerequisite to making coffee, it isn’t necessary to pre-filter your water. Of course, as a precaution, it never hurts to use either chemical or mechanical filtration beforehand.
And that’s how to drink coffee while camping. As we’ve seen, there are a million and one ways to brew an excellent cup of coffee on the trail. Coffee snobbery aside, choose the one that works best for you. This has less to do with the method itself as it does with your style of camping and the care you put into each brew. Just make sure to enjoy every sip of the way!
To all the brave backcountry baristas out there—brew on, comrades. Brew on. Want to learn more about our recommended products? Check out our in-depth guide of the best coffee makers for camping in 2021.